Monday, October 13, 2008

Tweaked Apple Scones

apple scones

Scones are always a favorite around here. My goal is to keep things as varied as possible which means experimenting with many ideas. I start with a concept and go from there. Sometimes, I succeed on the first try. At other times, I have been known to bake the same thing three times in a row just to tweak a recipe ever so slightly until it meets my idea of perfection.

apple scones inside

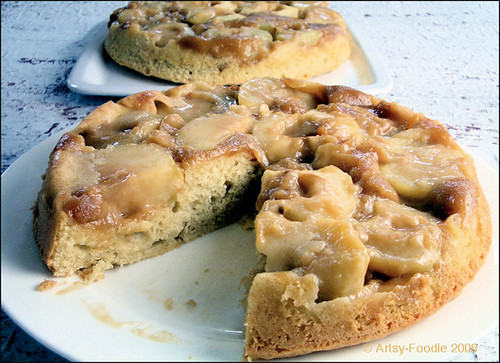
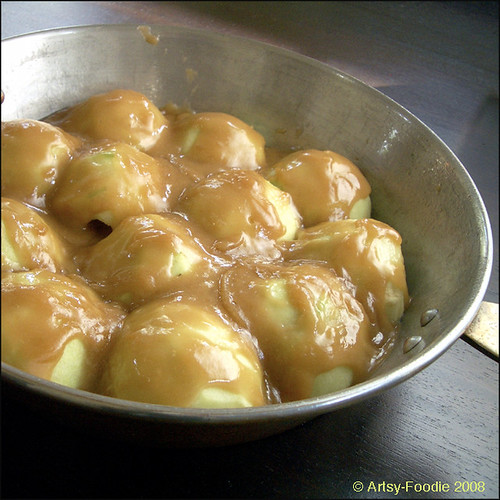
My first batch of apple scones this week was good but not great. The apple flavor I was looking for wasn't coming through enough and the texture was too much like muffins. I played around with it all morning until it was just right.

apple scone on handle

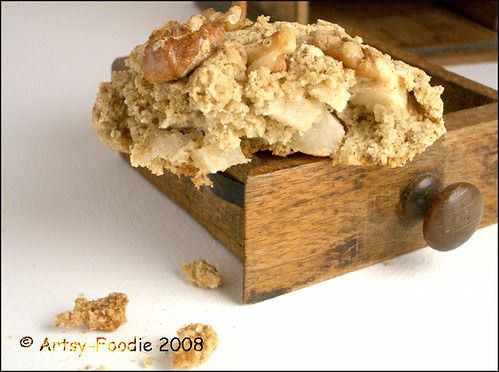
Apple Scones (makes 10)
If you are not concerned about gluten or wheat, you can use 1 cup all-purpose and 1 cup of whole-wheat white flour instead. You'll also want to omit the xantham.

1/2 cup brown rice flour
1/2 cup sorghum flour
1/2 cup tapioca flour
1/2 cup millet flour
1/4 teaspoon xantham gum
1 tablespoon GF baking powder
1/4 teaspoon salt
1/4 cup turbinado sugar, or granulated
1/2 teaspoon cinnamon
1/4 teaspoon nutmeg
1 tablespoon vegetable oil, or roasted walnut oil
1 tablespoon unsalted butter, diced
1 large egg, beaten
1/2 cup soymilk, or lowfat milk
1 teaspoon vanilla extract
1/4 cup walnut pieces, optional
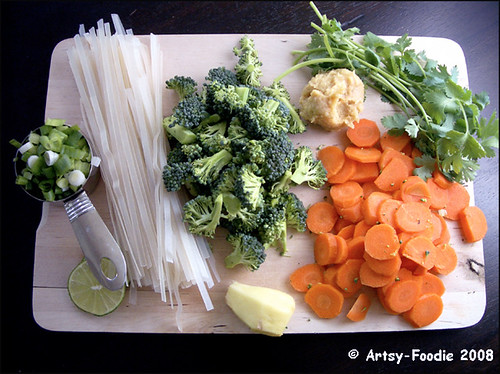
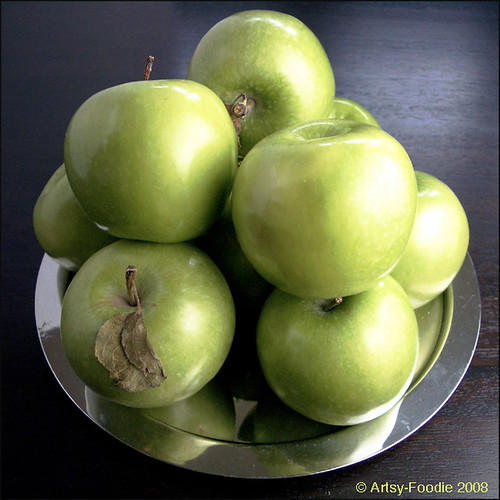
1 cup cooking apple skin on, diced small


400F preheated oven
oiled cookie-sheet


Place the flours, xantham, baking powder, salt, sugar, and spices in a bowl and mix well.
Drizzle the oil on top and add the butter. With your fingers, work those ingredients in until the flour is well coated and forms clumps when squeezed (this should take about 2 minutes).
In a smaller bowl, combine the egg, milk and vanilla.
Form a well in the middle of the flour bowl and pour in the wet ingredients. With a wooden spoon, make circular motions to mix and form the batter. Add the diced apples.
Divide the batter into 10 patties on the prepared cookie-sheet. Place walnut pieces, if using, on top of each scones. Bake for 15 to 20 minutes or until bottom of scones look golden.
These are best enjoyed the same day.

scones on coffee grinder

Here's another wonderful scone recipe...
Pumpkin Chocolate Scones

Friday, October 10, 2008

Pumpkin Butter with Candied Ginger

pumpkin butter jar

It's been an orange week. I am not one to complain. Orange is one of my favorite colors. I make a prediction that as the season progresses my blog will turn its leaves at the same time as the trees outside. Little by little, it will show the beauty of October as only splashes of colors can.

Autumn rose
A warm thank you to Carol and Marty for these beautiful roses.


Here's a delicious way for you to bring some orange into your home:

pumpkin jar top


Oven Roasted Pumpkin Butter with Candied Ginger
This recipe can be made vegan by replacing the butter with vegan margarine and using agave nectar not honey.

8 cups of diced cooking pumpkin
3 tablespoons candied ginger, chopped
1 teaspoon ground cinnamon
1 1/2 cup 100% white grape juice
1 tablespoon unsalted butter (optional)
1 teaspoon agave nectar or honey (optional)


Preheat oven to 375F.
Oil a large baking dish or deep cookie-sheet.

Combine all the ingredients together and spread onto the baking dish. Bake, turning the pumpkin pieces with a spatula every 20 minutes. Once the grape juice has evaporated and the pieces are soft and cooked through they are ready (about 1 hour or so).

pumpkin roasted

Transfer cooked pumpkin to the bowl of a food processor fitted with a blade. Add butter and agave nectar, if using. Blend for one minute. Scrape the sides with a spatula and process for 30 seconds more. This wonderful spread will keep for 1 week in the refrigerator or can be frozen until needed. I like to use it on bread but also in yogurt as a flavoring agent.

pumpkin butter on waffle

Another tasty spread for your bread or waffles:
Quick and Simple Fig Jam

Thursday, October 9, 2008

Autumn Pumpkin Seeds with Spices


pumpkinseed waterfall


As the leaves turn fiery in October, pumpkins start appearing in stores, farmers markets, CSAs and finally front porches--that's when my children start asking for homemade roasted pumpkin seeds.
Picking the seeds out of the gooey mess inside the pumpkin is an interesting experience. It requires good music in the background and lots of patience. Kids enjoy helping with the sorting. If you've never tasted homemade roasted pumpkin seeds, let me reassure you that their superior taste is well worth your effort.
My recipe for the spice mixture evolves a little bit every year. This particular combination is wonderful, not overly spicy for the kids, but very flavorful.


Seasoned Pumpkin Seeds

1 1/4 cup fresh pumpkin seeds, picked clean and rinsed
1/4 teaspoon turmeric
1/4 teaspoon smoked sweet paprika
1/4 teaspoon ground cumin
1/4 teaspoon dried orange peel
1/4 teaspoon garlic powder
1/2 teaspoon ground coriander
1/2 teaspoon sea salt
1/4 teaspoon ground chili powder

Preheat oven 350F.
Oil a cookie-sheet.

pumpkin seeds raw

Towel dry the rinsed seeds and set aside.
In a bowl, mix all the remaining ingredients until well combined. Add the seeds to the bowl and coat the pumpkin seeds evenly with the mixture. Spread the seasoned seeds onto the cookie-sheet.
Bake in the oven for 15 minutes. With a spatula give the seeds a stir. And continue roasting for 15 additional minutes or until the seeds are dry and slightly golden. Let cool and serve. Once cooled, these can be stored in an airtight container for a few days (but they won't last that long).


Wednesday, October 8, 2008

The Baking Beauties Wonderful Flaxseed Bread

Flaxseed GF bread

Jeanine over at The Baking Beauties has put together a marvelous array of gluten free reliable recipes in honor of Celiac Awareness Month.

I saw a beautiful loaf of Flaxseed bread there yesterday that I knew I had to make. The bread was everything Jeanine predicted. It was ready by lunch time and all gone in an hour.

Flaxseed bread sandwich

It's perfect for sandwiches and is so easy to make. This fabulous recipe is only one of the many you will find featured on her delicious blog.

Tuesday, October 7, 2008

White Bean Crustless Quiche with Fennel and Corn

white bean crustless quiche slice too

I have been making one version or another of this wonderful dish for as long as I can remember. My sister introduced me to the basic recipe which led to so many different variations. I don't even bother making a crust for it anymore, as I find that the filling is delectable by itself. This quiche is a wonderful addition to any vegetarian diet. It is high in protein, thanks to the cottage cheese, egg whites and white beans. The corn and fennel add just the right amount of texture and sweetness.


white bean crustless quiche

Fennel and Corn Crustless Quiche (serves 6)

1 teaspoon olive oil
1 1/2 cup fresh corn kernels (frozen and thawed okay)
1 cup chopped fennel (about 1/4" pieces)
1/4 teaspoon garlic powder
1/4 teaspoon sea salt
1/4 cup finely chopped parsley
16oz lowfat cottage cheese
3 large eggs
1/2 cup egg whites
1 cup cooked white beans (such as white kidney or cannellini beans)
1/2 cup grated parmesan (fresh is best)
1/4 tsp of salt (optional)
3 tablespoons garbanzo flour or GF bread crumbs


Preheat oven to 375F.
Oil a deep pie dish.

Heat the oil in a thick bottom saute pan. Add the corn, fennel and saute for 5 minutes, stirring often. Mix-in the garlic powder, salt and parsley. Continue sauteing for another 2 minutes. Transfer to a large bowl.
Add cottage cheese to the corn mixture and mix well. Then add the eggs, egg whites, beans, parmesan, salt and flour or bread crumbs. Combine thoroughly and transfer to the prepared pie dish.

Bake for 1 hour or until set and golden.

white bean crustless quiche slice

Artsy-Foodie's Tip:
This is a great dish to make ahead of time. It reheats beautifully. You can make it on the weekend, let it cool, pre-pack it into individual portions and then freeze it for a future weekday lunch.


More tasty make-ahead dishes:
Zucchini Cheese Casserole
Zucchini Blossom and Dill Frittata

Monday, October 6, 2008

The Comfort of Miso Soup

Miso Soup Surface Bowls

There's something so comforting about a bowl of hot miso soup. It warms you up so deliciously the instant it touches your lips. It soothes your tummy when it aches. It clears your sinuses when you have a cold. It brightens the gloomiest rainy day... Miso may well be a cure-all in a bowl.

My kids are big soup fans. Even when we lived in sunny California, they would get excited when soup was on the menu. I use to make a lot of cream of vegetable soups back then, minus the cream. Nowadays, my repertoire has a wider range. I have been playing around with my own recipe for a hearty miso soup. I love ending my day with such a comforting meal. This one has it all: a little vegetable, a little tofu, a little rice pasta and a creamy salty broth that is flavored just right.

Miso Soup Top View

The key to getting a soup from just warm liquid to "wow" is creating a compilation of harmonious flavors. I started with a low-sodium clear vegetable broth, then added fresh ginger, cilantro, lime slices and green onions. This was only the beginning as this flavorful canvas still needed some added pizzazz to become the perfect soup. Flavorful vegetables, tender tofu, slippery pasta, rich miso and fragrant toasted sesame oil were then added in to help make this a meal to remember.

I'm sending this miso soup to Lisa over at Food and Spice who's hosting this month's No Croutons Required event. This steamy bowl is perfect for her event and fits the bill as a hearty bowl of soup.

Tofu Vegetable Soup with Miso (serves 6)

Miso Soup Ingredients

12 cups low sodium vegetable broth
2 slices lime
1 1" piece ginger, peeled
12 springs fresh cilantro
1/3 cup sliced green onions (about 2-3)
2 cups small broccoli florets
1 cup sliced carrots (about 4 medium size)
1/4 cup mild red pimiento, sliced into rings (optional)
14 oz firm organic tofu, diced small
1/2 cup mellow white miso
4oz of thai rice pasta sticks
1 tsp of GF soy sauce
1/2 tablespoon toasted sesame oil
1/4 cup fresh cilantro, chopped fine (for garnish)


Bring broth, ginger, cilantro, green onions to a boil. Simmer for 5 minutes, covered. Add broccoli, carrots, pimiento, tofu and bring back to a boil, cover and then simmer again for 5 minutes. Add the miso and mix well to combine. Bring back to a simmer and add the pasta, stir, cover and turn the heat off. Leave alone for 10 minutes or until pasta is soft. Finish with the soy sauce, sesame oil and cilantro garnish.

All gone...
Empty Soup Bowls

Here's another soup recipe for you drink up...
Black Lentil Soup with Kale and Turnip Chips

Friday, October 3, 2008

Caramel Apple Not on a Stick Cake

caramel apple cake served

When my dad lived in Arizona, he use to make an oven-baked applesauce which he said was so healthy. His claim use to make us laugh because the first bite would reveal that butter was the main ingredient. It was really good. Each morsel would practically melt in your mouth: the perfect caramel apple puree.

Caramel apples in pan

The distance of the ocean separating my father and I make it difficult to pop by his house for this wonderful dish, so the other day I decided to play around with the concept. What started as an online recipe for caramel baked apples ended up into what I like to call: Caramel Apple Not on a Stick Cake. Truth be told, this is a not a "healthy" cake, no matter what my papa says.

caramel apple not on a stick cake

Caramel Apple Not on a Stick Cake (serves 8)
This cake is gluten free but, as always, you can play around with flours if you are not concerned about your wheat or gluten intake. Just omit the xantham gum and use 3/4 cups of all purpose flour instead of the GF flour and proceed as per the recipe below.

Green apples

1 lb of apples (pippin or other cooking apple)
3 tablespoons unsalted butter
1/2 cup brown sugar
1 tablespoon cornstarch
1/4 cup heavy cream
1/4 cup lowfat milk

2 tablespoons unsalted butter
2 tablespoons canola oil
1/3 cup sugar
1/8 teaspoon salt
2 large eggs
1/4 cup egg whites
1 teaspoon GF hazelnut or vanilla extract
3/4 cup GF all purpose flour mix (such as Bob's Red Mill GF all purpose mix)
1/4 cup almond meal
1 teaspoon xantham gum
1 teaspoon baking powder

Pre-oil a round baking dish.
Peel and core apples. If they're small, slice them in half. If larger cut thick slices slices instead. Cover the bottom of the dish with apple slices.

In a pot, over medium heat, heat the cornstarch and brown sugar. Then add the butter, while mixing constantly, followed by the milk and cream. Continue heating and mixing until mixture thickens into a caramel sauce. Pour evenly over apple-slices. set aside while you make batter.

Preheat oven to 350F.

In a mixer, combine butter, oil and sugar. Cream together for 2 minutes. While mixer is on, add eggs, one at a time. Then follow by adding the egg whites and hazelnut extract.
Combine the flour, almond meal, salt, xantham gum and finally the baking powder in a bowl. Incorporate the flour mixture in 3 increments into the butter-egg mixture. Pour over the caramel apple slices. Bake for 45 minutes or until nice and golden. Let cool. Run a knife along the edges and invert onto a plate. This cake is best serves the same day.

caramel apple cake slice

Artsy-Foodie's Tip:

When slicing this cake, use a very sharp knife. If you don't, the knife will push the slices into the batter and destroy the shape of your cake.


Fruit desserts are the best. Here are a few more delicious recipes for you to enjoy:
Blueberry Plum Clafoutis
Oat Fig Bars
Related Posts with Thumbnails